Mastering a ratchet wrench can transform tedious bolt turning into a smooth, efficient operation that saves time and energy. This important tool allows for continuous rotation of fasteners without the constant repositioning required by a standard wrench – a game-changing advantage that explains why every professional mechanic and serious DIY enthusiast considers a ratchet wrench indispensable.
This article takes you step by step to understand How to Use a Ratchet Wrench from the results of a ratchet wrench, how it works, and how the main ratchet wrenches currently on the market work.
Understanding Your Ratchet Wrench: Components and Mechanism
Before learning how to use a ratchet wrench effectively, understanding its key components ensures safe and efficient operation. The ratchet handle contains the heart of the mechanism – a complex gear system that allows rotation in one direction while preventing reverse motion. This one-way clutch design allows for continuous motion, making ratchet wrenches valuable for repetitive tightening tasks.
The drive square is typically 1/4″, 3/8″, 1/2″, or 3/4″ in size and provides an attachment point for the socket and other accessories. The drive square is usually a spring-loaded ball bearing or similar retention system to secure the accessory while allowing for quick replacement. A direction selector (usually a lever or rotary switch) controls the direction in which the ratchet mechanism is engaged.
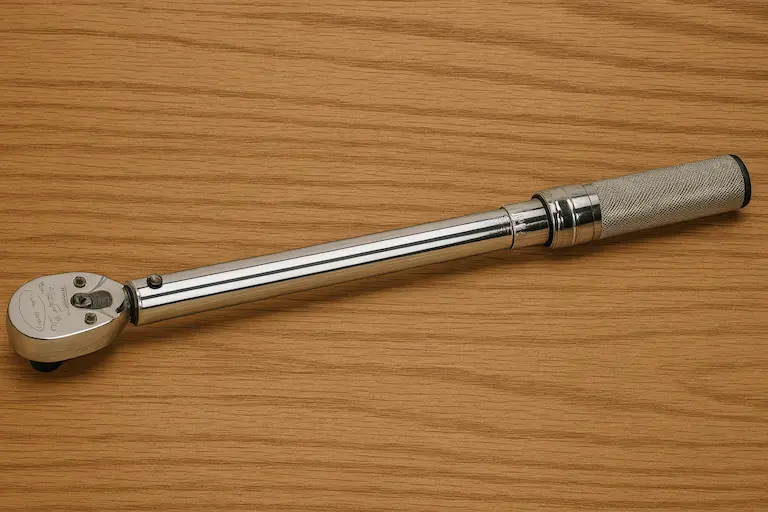
A quality ratchet wrench has a fine-tooth mechanism with 72 teeth or more, which can provide working angles as small as 5 degrees. Generally speaking, more teeth in a fine-tooth mechanism means more precise engagement, but also means higher costs. So you can see that there are lower-priced ratchet wrenches on the market with 58 teeth. There are also ratchet torque wrenches with 80 teeth, such as the 1/2″ Drive SAE Adjustable Click-Type Fixed Ratchet Torque Wrench, which, of course, also means that this ratchet wrench is very expensive.
Understanding these components helps you recognize when your ratchet wrench operates correctly and identify potential problems before they cause damage or safety issues. A smooth, consistent clicking sound indicates proper operation, while grinding, skipping, or irregular sounds suggest maintenance needs or potential failure.
Check here to learn about the Complete Guide to Types of Ratcheting Wrenches: Everything You Need to Know in 2025
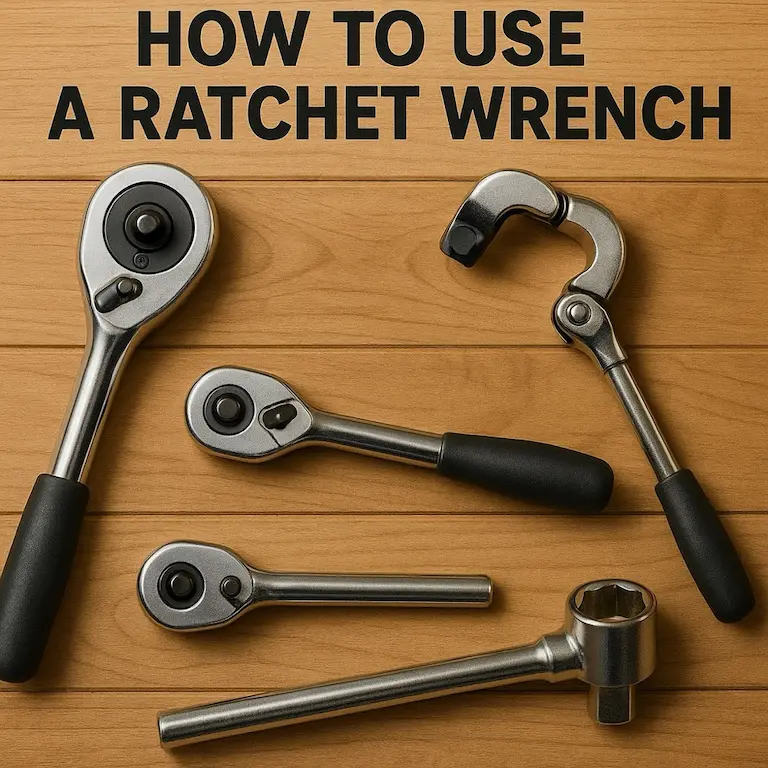
Here's how to use a ratchet wrench:
Understanding these components helps you recognize when your ratchet wrench operates correctly and identify potential problems before they cause damage or safety issues. A smooth, consistent clicking sound indicates proper operation, while grinding, skipping, or irregular sounds suggest maintenance needs or potential failure.
First check for rust
The following situation specifically refers to a ratchet wrench that you have not used for a long time. When you plan to restart this ratchet wrench, first check whether the ratchet part has corrosion. If the ratchet wrench has rusted, apply penetrating oil to the ratchet part first. At the same time, you also need to check whether the nuts you need to turn are rusted or rotten. Then apply penetrating oil to the corroded fasteners and leave enough time for it to work – rushing this step will usually cause damage to the fasteners or tools.
Direction Setting for Loosening

Most nuts and bolts have right-hand threads, meaning clockwise tightens and counterclockwise loosens. Similarly, if you press the direction button on the ratchet wrench clockwise, you tighten the nut. If you need to loosen the nut, you need to adjust the direction button on the ratchet wrench to clockwise.
Breaking Initial Resistance
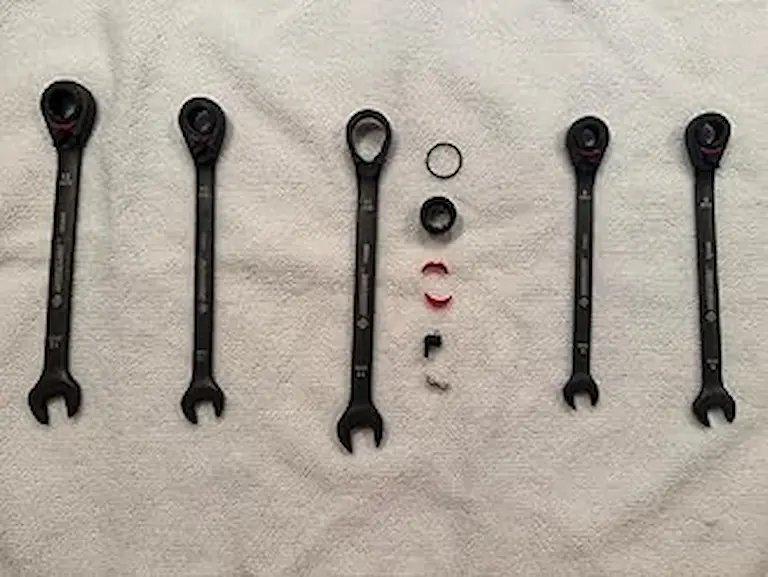
Stubborn fasteners often require a strong initial force when first tightening. Try to grip the end of the ratchet wrench as much as possible to gain maximum leverage. If the fastener still won’t turn, try a ratchet wrench made of a higher-strength material or a power tool. This is especially true if the ratchet wheel on your ratchet is made of plastic; if you use it with sudden impact, the plastic ratchet wheel is likely to break and disintegrate (see the image above). However, even a plastic ratchet wheel is generally sufficient for normal operation.Understanding these components helps you recognize when your ratchet wrench operates correctly and identify potential problems before they cause damage or safety issues. A smooth, consistent clicking sound indicates proper operation, while grinding, skipping, or irregular sounds suggest maintenance needs or potential failure.
Progressive Loosening Technique
Once the fastener begins moving, use the ratcheting action to maintain continuous rotation. This prevents the fastener from seizing again due to debris or corrosion. Keep the socket fully engaged throughout the loosening process—partial engagement can damage both the socket and fastener head.
How to Use a Ratchet Socket Set?
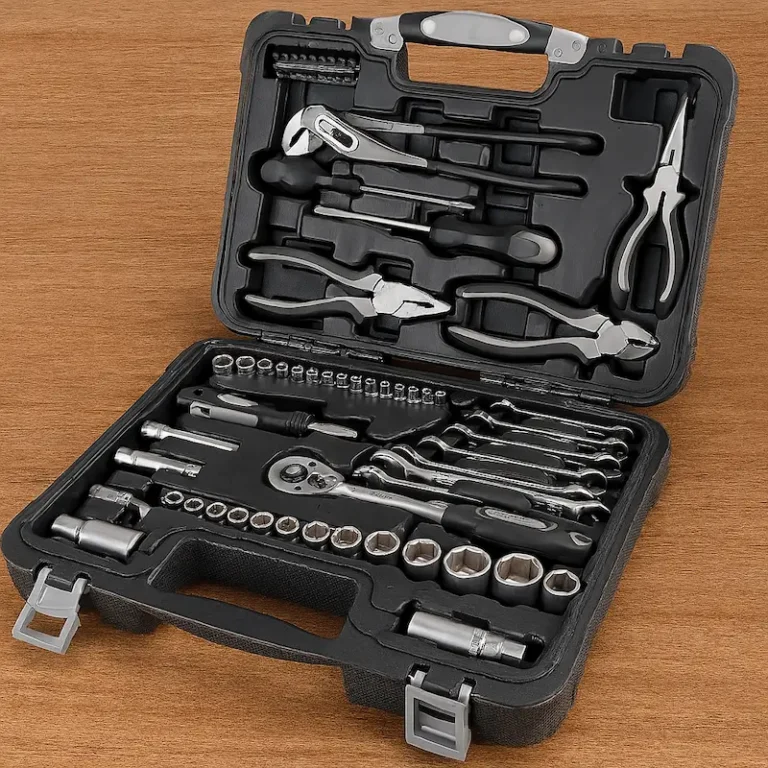
Ratchet socket wrenches are becoming increasingly popular in the market due to their efficiency, versatility, and ease of use. Ratchet socket wrenches can significantly improve work efficiency, especially when multiple nuts need to be removed and installed simultaneously. Quality socket sets include multiple drive sizes, various socket depths, and specialized accessories that significantly expand the functionality of a basic ratchet.
Below, I will break down the steps for using a ratchet socket wrench.
Drive Size Selection Strategy
Choose a drive size based on your application requirements. 1/4″ drives are ideal for precision work and small fasteners, offering excellent control but limited torque capacity. 3/8″ drives provide the best balance of control and power for general applications. 1/2″ drives can handle heavy-duty tasks requiring high amounts of torque, while 3/4″ drives are ideal for industrial applications with extreme torque requirements.
🔹 Tip: Most kits include 1/4-inch, 3/8-inch, and 1/2-inch drive sizes – choose the drive size that matches your socket and torque needs.
learn more about the Socket Wrench vs Ratchet Wrench: Complete Technical Comparison Guide 2025
Choose the Right Socket
Match the socket size (metric or SAE) to the bolt or nut you’re using. If you have a 12-point socket, it can be used as a backup for equivalent imperial/metric sizes (if the sizes are very close), such as 19mm ≈ 3/4″. However, long-term use with inaccurate sizes can damage the nut. Below are some common bolt and nut types in the United States. Make sure you purchase a ratchet socket set that includes these common sizes.
🔹 Tip: Use a socket size gauge or manually try several sizes to find the best fit.
| Inch Size (SAE) | Common Applications |
| 1/4″(0.25 inch) | Home furnishings, furniture, light assembly |
| 5/16″ | Light machinery, automotive interiors |
| 3/8″ | Common in automotive repair (e.g., engine mounts) |
| 7/16″ | Automotive chassis, equipment frames |
| 1/2″ | Building steel structures, tire bolts |
| 9/16″ – 3/4″ | Trucks, heavy equipment |
| 7/8″ and above | Industrial-grade piping, heavy machinery connections |
Attach the Socket to the Ratchet
Push the socket onto the square drive of the ratchet handle until it clicks into place. Common drive sizes include 1/4″, 3/8″, and 1/2″; choose based on your socket size and torque requirements. Some ratchets have a quick-release button to easily lock/unlock the socket.
Set the Direction (Tighten or Loosen)
Adjust the directional lever located on the ratchet head:
Clockwise (right turn) for tightening.
Counterclockwise (left turn) for loosening.
🔄 Reminder: Always confirm ratchet direction before applying force to avoid unintended tightening or loosening.
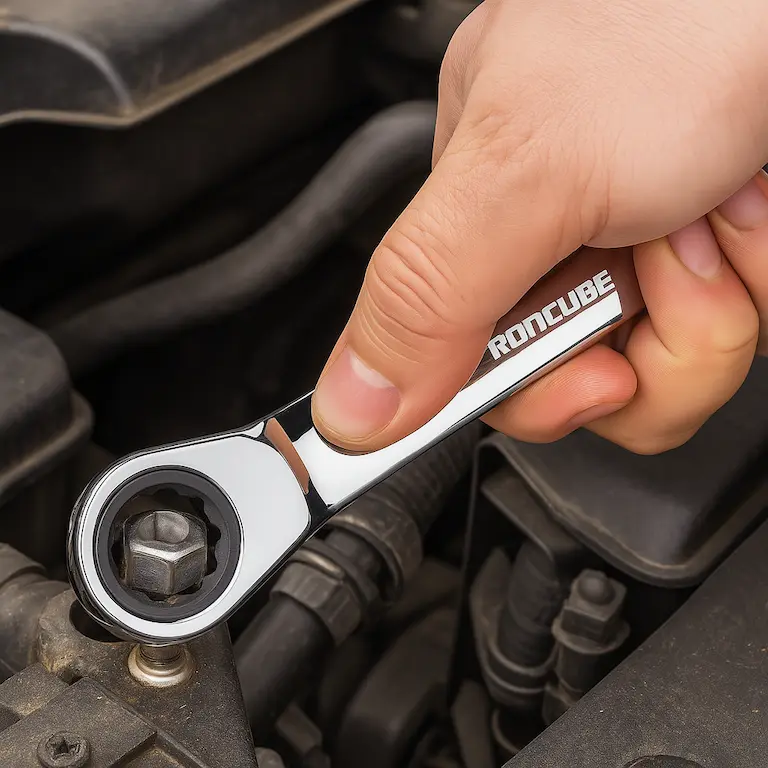
Position the Socket Correctly
Place the socket squarely onto the nut or bolt head, ensuring full contact to prevent slippage or damage.
🔹 Check Alignment: A well-seated socket reduces the risk of stripping or rounding the fastener.
Learn more about the: What is a Socket Wrench? Complete Guide to Socket Tools and Applications
Begin Ratcheting
Rotate the handle back and forth; the ratcheting mechanism allows you to work efficiently without removing the socket from the fastener.
Apply short, controlled strokes in confined spaces, or utilize longer, smooth swings when ample room is available.
🔹 Efficiency Tip: You only need to reposition the ratchet handle when movement space is restricted.
Utilize Extensions or Adapters for Accessibility
Employ socket extensions, swivel adapters, or universal joints for fasteners in hard-to-reach or angled locations.
- Extension bars enable socket placement in locations beyond the ratchet handle’s reach. Multiple extension lengths provide flexibility for various applications, though longer extensions reduce feel and may create alignment challenges. Universal joints allow operation around corners or at angles, though they reduce torque capacity and precision.
🔹 Versatility Advantage: Extensions and adapters significantly enhance your ratchet’s functionality.
Detach the Socket After Use
Press the quick-release button to remove the socket effortlessly, or manually pull it straight off the ratchet drive if your tool lacks this feature.
🧰 Pro Tips for Advanced Usage
Prevent Overtightening: Use a torque wrench for precision-critical tasks like automotive engine work.
Maintain Cleanliness: Regularly clean sockets and ratchet heads; dirt or corrosion can compromise effectiveness.
Lubricate Stubborn Fasteners: Apply lubricant to rusty or difficult-to-turn nuts and bolts to ease removal.
Troubleshooting Common Ratchet Wrench Problems
Understanding how to diagnose and address common ratchet wrench problems keeps your tools operating reliably while preventing potentially dangerous failures. Most issues develop gradually and provide warning signs before complete failure occurs.
Pawl Skipping or Slipping Issues
Pawl jumps typically indicate worn teeth, contamination, or excessive load. Clean the mechanism thoroughly and inspect for visible wear. If cleaning doesn’t resolve the problem, the ratcheting wrench may need professional repair or replacement. Never continue to use a ratchet that jumps under normal load—it can cause sudden failure and possible injury.
Difficult Direction Changes
A sticky or difficult directional switch is often caused by contamination or corrosion in the switch mechanism. You’ll need to clean the switch area with a ratchet wrench and apply a suitable lubricant. If the problem persists, the internal components may require professional attention. Do not force the switch—internal damage can lead to complete failure of the mechanism.
Inconsistent or Noisy Operation
A characteristic clicking sound or change in rhythm from your ratchet usually indicates a problem. A grinding sound indicates metal-to-metal contact due to worn components or insufficient lubrication. An irregular clicking pattern may indicate uneven wear or damaged teeth and requires professional evaluation.
Socket Retention Problems
A loose socket indicates that the ratchet’s retaining mechanism is worn or damaged. Inspect the ratchet’s retaining system for debris and clean as needed. Worn ball bearings or springs need to be replaced for safe operation – a loose socket can fall and cause injury or damage.